Interior Sign Installation: Tips for Sign Professionals

We are proud to produce a lineup of custom solutions that identify, direct, and protect the world.
Our signage products include metal and plastic interior, exterior, and illuminated signage, plaques and metal plates.
We support OEM partners, from design and project management to production to produce custom plastic parts.
Our customizable cases are purpose-built, designed from the inside out to be durable, highly-engineered protective solutions made in the USA. Our cases offer superior protection for equipment in a variety of industries.
We offer premium engraving and ADA plastic substrates for the signage, award, and recognition and engraving industries. With the industry's leading partner network of distributors, most orders ship the same day they are placed.
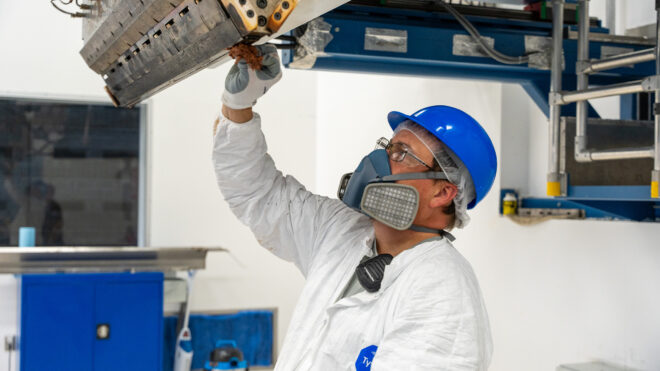
Interior sign installation plays a critical role in enhancing a space’s aesthetics and functionality. Whether you're working on a large-scale commercial project or a smaller interior signage installation, the right approach ensures longevity and visual impact. In this blog, we delve into essential sign installation tips for interiors and best practices to help you tackle common challenges with confidence.
Interior sign installation is more than just mounting a sign—it’s about seamlessly integrating branding and design with the built environment. A well-installed sign enhances visibility, complements the space, and ensures long-term durability. Proper planning, precise execution, and the right tools make all the difference in achieving a professional, polished outcome.
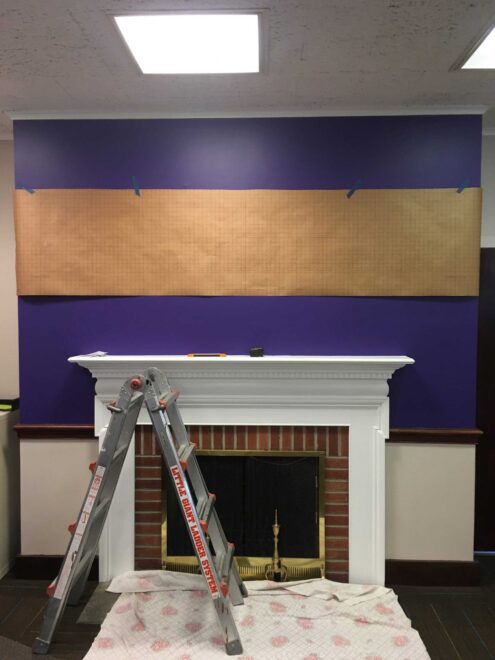
Before starting any installation, a thorough site assessment is essential. Evaluating the environment where the sign will be installed helps prevent unforeseen challenges and ensures a smooth process. Read more on installation best practices from a Gemini expert.
Proper preparation is the foundation of a successful installation, minimizing errors and potential rework.
Having the right tools is critical for smooth and efficient installation. A well-equipped toolkit ensures precision, safety, and professional results.
With the right tools, sign installers can avoid unnecessary delays and ensure secure, long-lasting results.
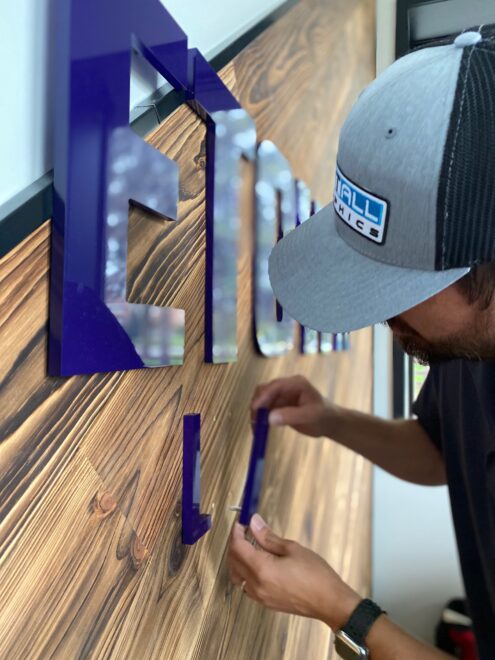
Every installation is unique, requiring an adaptable approach. While no two projects are identical, these best practices can help you achieve a professional outcome:
Thorough planning and careful execution lead to a secure and visually appealing installation.
Even with proper planning, challenges can arise. Here’s how to handle some of the most common interior sign installation issues:
By anticipating these potential challenges, installers can adapt quickly and maintain efficiency on the job.
The job isn’t done once the sign is mounted—finishing touches matter. Installers should maintain professionalism and ensure they leave the space as clean and unobtrusive as possible.
Attention to these final details reflects professionalism and contributes to a positive client experience.
Mastering interior sign installation requires a combination of preparation, the right tools, and adaptability. By following best practices and planning ahead, you can tackle installations more efficiently and with greater confidence.
While Gemini does not provide installation services, we are committed to providing signage solutions that integrate seamlessly into your projects. Learn about our installation patterns or share your experiences and additional installation tips in the comments below. Stay tuned for more industry insights from Gemini—where craftsmanship and innovation drive signage excellence.